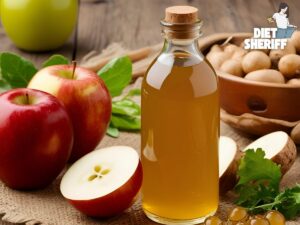

Apple cider vinegar (ACV) is indeed a magical ingredient, loved for its tangy flavor and numerous health benefits.
Whether you’re using it in cooking or for home remedies, ACV has a special place in many households.
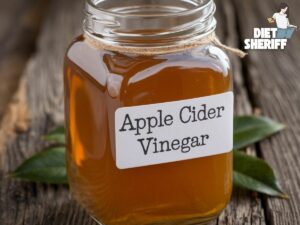
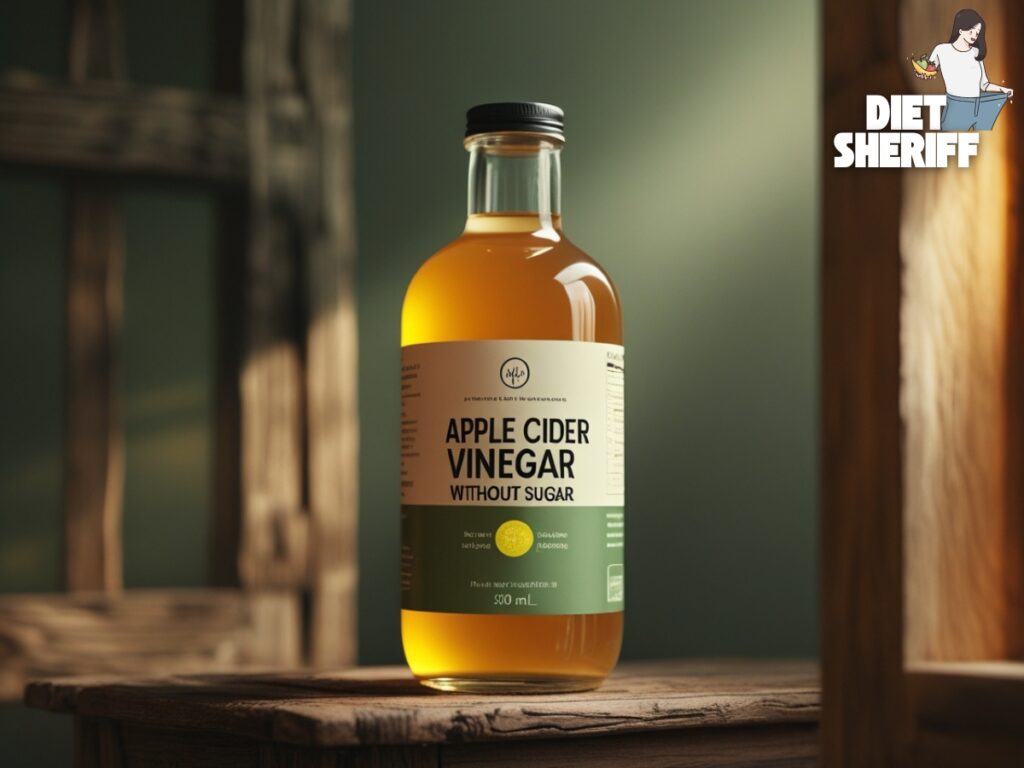
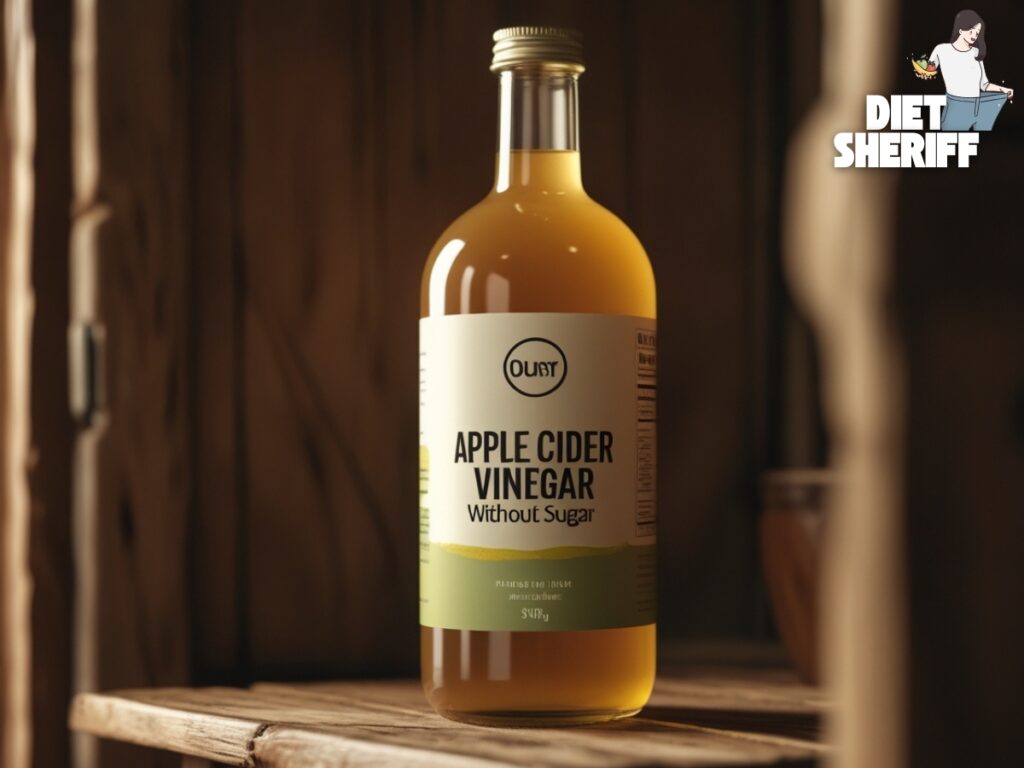
While store-bought versions can be expensive and often contain artificial sweeteners, you can easily learn how to make apple cider vinegar without sugar at home using simple ingredients and adjust it to your taste!

Key Takeaways
Expert Guide
Apple Cider Vinegar: What You Need to Know
ACV is a type of vinegar made primarily from fermented apple juice. This vinegar is made with apple juice or concentrated apple juice through a double fermentation.
Typically, the process of making apple cider vinegar starts with the sugars in apples being fermented by yeast or bacteria added to the cider.
Vinegar fermentation happens in two stages.
- In the first phase, yeasts consume the sugars from the apples or juice, creating carbon dioxide and alcohol over 2 to 3 weeks. Once the yeasts have done their job and die off, the process moves to the second phase.
- Here, Acetobacter bacteria from the air turn the alcohol into acetic acid.
Related Articles: What Are Apple Cider Vinegar Supplements Good For?
https://gigasecurehome.com/nest-doorbell-wont-connect-to-google-home
By the end of phase two, all the alcohol and sugars are consumed, leaving behind water and acetic acid—your vinegar!
Apple cider vinegar consists of 94% water, 5% acetic acid, and 1% carbohydrates, with negligible amounts of fat and protein. In a 100-gram (or milliliter) serving, it delivers 22 calories.
The required minimum strength for cider vinegar varies by country, with the USA setting it at 4% acetic acid (w/v).
Related Articles: Does Apple Cider Vinegar Make You Gassy?
https://gigasecurehome.com/nest-doorbell-not-connecting-to-wifi-iphone
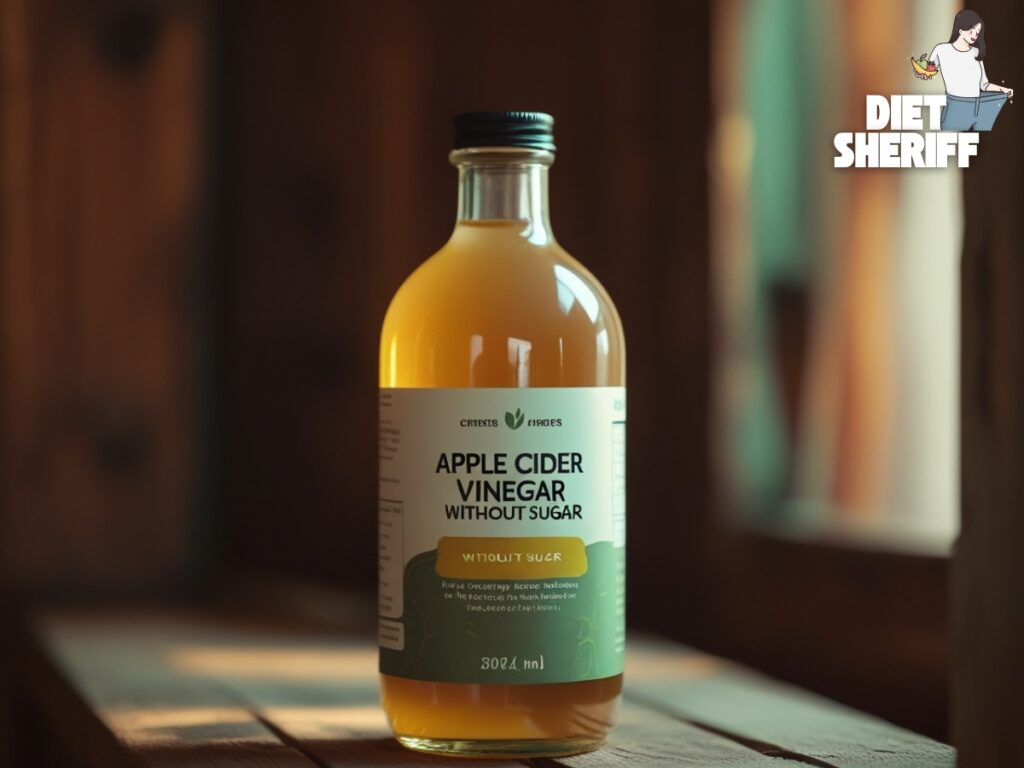
DIY Apple Cider Vinegar: How To Make Apple Cider Vinegar Without Sugar?
To get rid of pricy apple cider vinegar making it at home can be a cost-effective alternative.
Normally, the sugar in apple cider vinegar is used to feed the bacteria and they are usually fermented out.
This simple DIY method uses just apple scraps and water, without added sugar, to produce pure, natural vinegar rich in probiotics.
Here’s how you can easily create your own sugar-free apple cider vinegar.
Ingredients You will Need
- Apples: Use whichever apple you have on hand. Organic apple is preferable. Using sweeter apples will produce a more pleasant-tasting vinegar. Peels, cores, and any leftover pieces from apples can also be used to make vinegar.
- Water: Room temperature water is best to promote the growth of the good microbes.
- Jar: You can use any size jar; wide mouth jar is easy to work with. Coffee filter, paper towel or cheese cloth can be used to cover the opening of the jar.
- Elastic bands
- Stirring tool: Select a bamboo chopstick or a plastic or wooden utensil for stirring the mixture.
Step 1: Prepare the Apples
Collect fresh, organic apples. You can use only the apple flesh or include the skin and core as well.
Step 2: Cut the apples
Thoroughly wash the apples and cut them into small pieces, including the skins and cores.
Related Articles: Expert Guide: Why Does Apple Cider Vinegar Help Heartburn?
Note: unless your apples have visible dirt on it, it is recommended not to wash the apples as skins and core parts contain the natural bacteria and yeasts needed for fermentation.
https://gigasecurehome.com/nest-doorbell-not-ringing-inside
Step 3: Load the Jar
Clean a jar with hot, soapy water—sterilization isn’t necessary. Fill the jar with apple chunks or scraps, but only up to halfway.
Step 4: Add water
Pour room temperature water into the jar with the apples and sugar, then stir the mixture thoroughly.
Note: Use non-chlorinated water, as chlorine can interfere with the growth of beneficial bacteria needed for fermentation.
Related Articles: Can You Use Apple Cider Vinegar for Pickling?
Step 5: Cover the container
Cover the container with a clean cloth, coffee filter, or cheesecloth, and secure it with a rubber band.
This setup will enable the bacteria and yeast from the air to interact with the mixture and initiate the fermentation process. Label the jar with the starting date.
Step 6: Fermentation period
Set the jar on a countertop in a warm, dark area away from direct sunlight and let it sit for few weeks.
During this time, the natural bacteria and yeasts in the apples will start the fermentation process, converting the sugars into alcohol.
Step 7: Patience and Stirring
Stir the mixture daily or every other day to prevent mold and yeast from forming. Regular stirring helps with aeration, which is crucial for the fermentation and improves the flavor.
Over the next 1 to 2 weeks, you’ll notice the apples’ natural sugars starting to ferment, creating a tangy smell.
Step 8: Strain, then wait
Once the first fermentation is done, strain out the apple pieces and keep only the liquid. Return this liquid to the jar and let it ferment for another 3 to 4 weeks, giving it an occasional stir.
Step 9: Observe the fermentation
Monitor the fermentation process over the next few weeks. You’ll notice the cider gradually becoming more acidic. Taste it occasionally to gauge the level of acidity.
When it achieves the classic vinegar tang, your batch is ready to be bottled and stored.
Step 10: Store
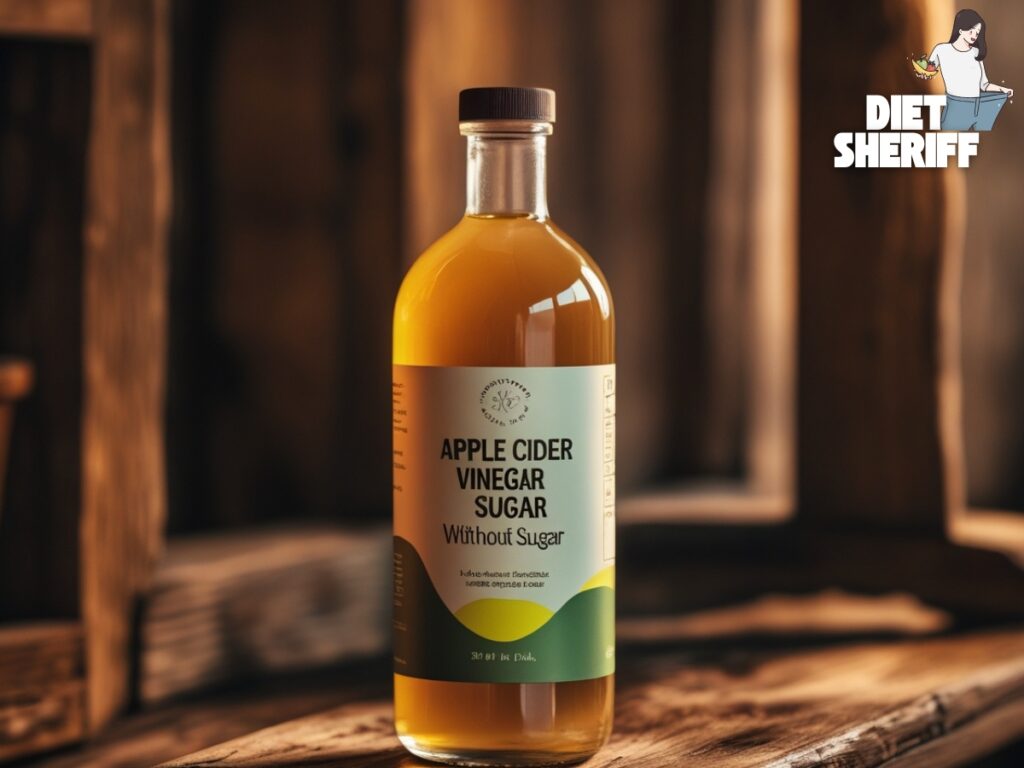
Your homemade apple cider vinegar is now ready—naturally fermented, sugar-free, and packed with beneficial probiotics. To store it, keep it in a dark place like a cupboard with a tightly secured non-metal lid, or you can refrigerate it.
The Advantages of Homemade Apple Cider Vinegar!
Making apple cider vinegar at home provides several advantages compared to store-bought options. It ensures a more natural product and gives you greater control over its quality and flavor.
No Unwanted Additives: It’s free from artificial preservatives, colorings, and additives commonly found in commercial vinegar, giving you a pure, natural product.
Personalized Taste: You can tailor the flavor and acidity to match your personal preferences, ensuring the perfect vinegar for your needs diet sheriff.
Probiotic Boost: Homemade vinegar keeps more of the gut-friendly probiotics from fermentation, aiding digestion.
Budget-Friendly: Making your own vinegar is cheaper than buying it, especially if you use leftover apple scraps.
Eco-Conscious: Using apple scraps reduces food waste, making your homemade vinegar a more sustainable option.
No Added Sugars: It’s naturally sugar-free, unlike some commercial brands that add extra sugars.
Higher Nutritional Value: Homemade vinegar often retains more of the vitamins and minerals from the apples, which can be lost during processing in store-bought versions.
Explore Also:
Creativehouseblog
Gigasecurehome
Mycleanseplan
FAQs Of How to make apple cider vinegar without sugar
What should I do if the vinegar develops a white film?
This film is usually the “mother” of vinegar. It’s harmless and can even be used to start new batches.
Can I use any type of apples?
You can use any apple, but sweeter ones usually make a better-tasting vinegar.
How can I adjust the vinegar’s acidity if it’s too strong or too mild?
If it’s too strong, just dilute it with water; if it’s too mild, let it ferment a bit longer.
How do I know when it’s ready?
Taste it now and then—when it hits your preferred acidity, it’s time to bottle it.